Dive into the advanced features of the Sibaway AI chatbot with this guide, building on the basics covered in How to use Sibaway AI chatbot: a quick guide. Explore enhanced interaction techniques, customization options, and optimization strategies to maximize your chatbot’s potential.
Managing files in Sibaway
This section provides advanced steps for managing documents in Sibaway, including viewing, chatting with, deleting, and switching views for efficient document handling.
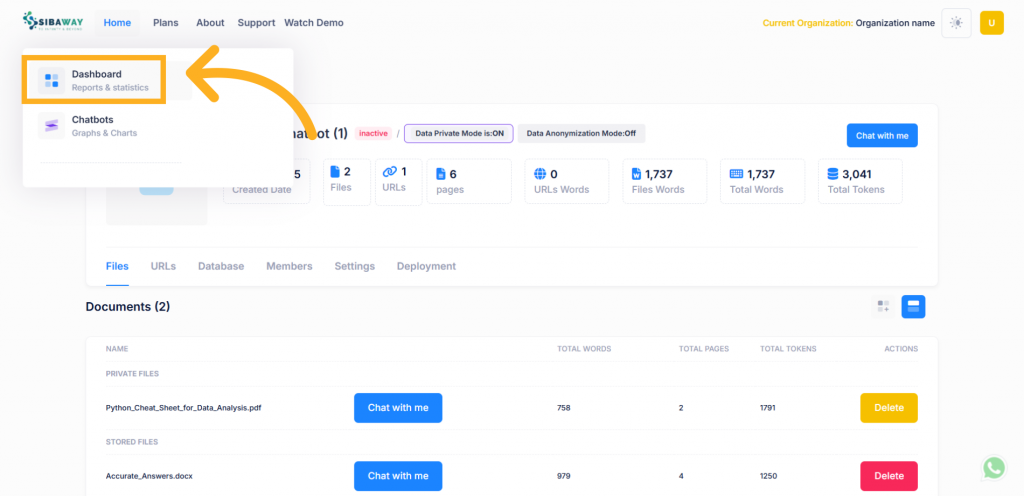
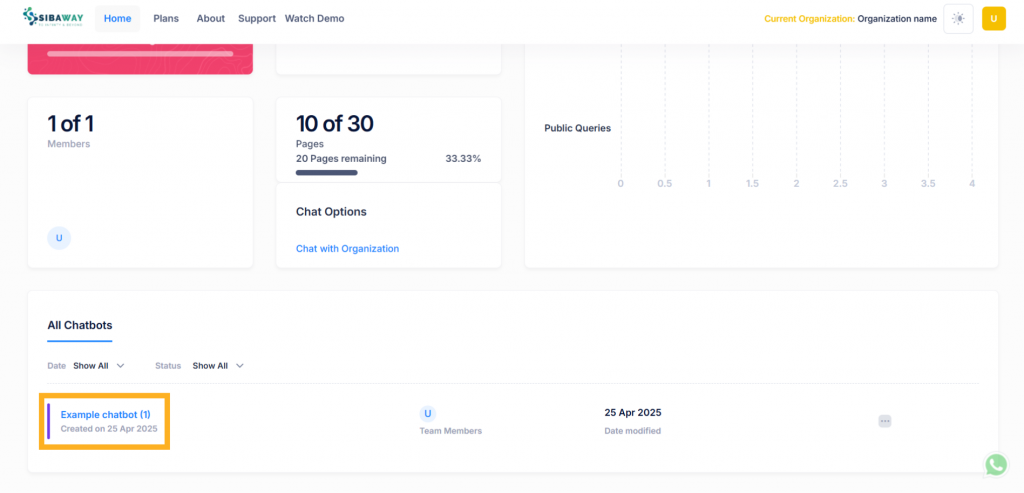
- Access Dashboard Stats: Click the Dashboard tab to start from home again, or to view usage stats like members, pages, and public queries.
- Open your Chatbot: Filter and review chatbot details under “All Chatbots,” such as “Example chatbot” with its creation and modification dates. Click it to open.
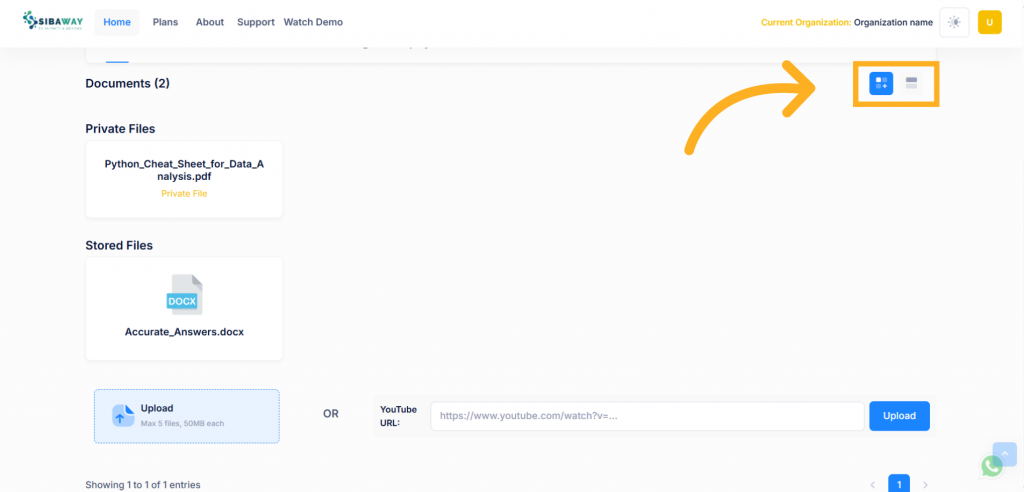
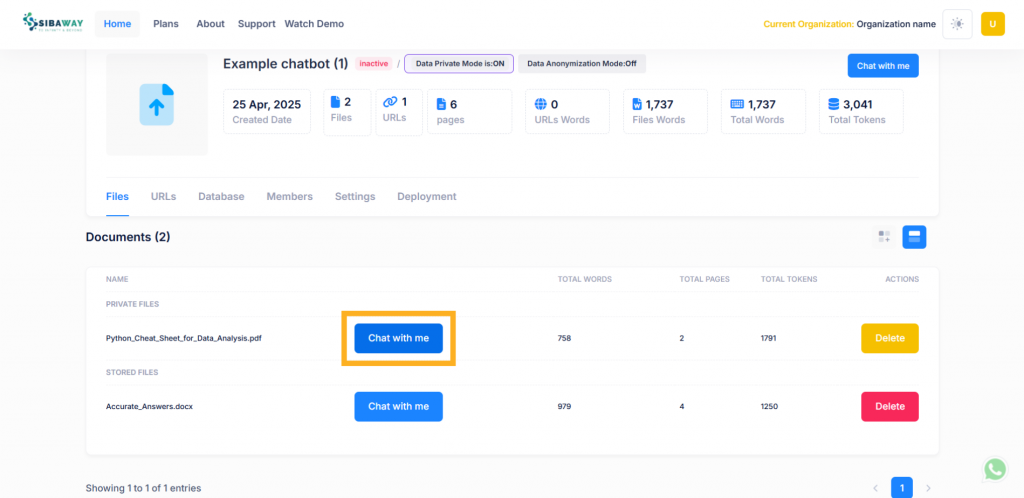
- View Documents: Navigate to the “Files” tab to see all documents under “Private Files” and “Stored Files”.

- Switch Document View: Use the view toggle (highlighted in screenshot) to switch between list and grid views for easier document navigation.
- Initiate Chat with a Document: Click the blue Chat with me button next to a document (highlighted in screenshot) to start a conversation based on its content.
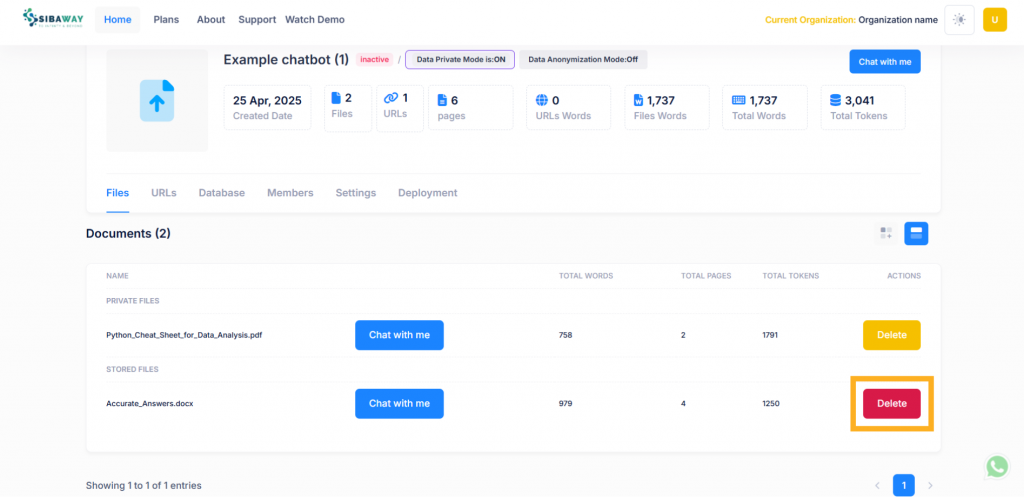
- Delete a Document: Click the red Delete button next to a document (highlighted in screenshot), confirm the deletion in the pop-up by clicking Delete (highlighted), or cancel to keep the file.
Managing members
This section guides you through managing team members, including inviting new users, and handling quota limits.
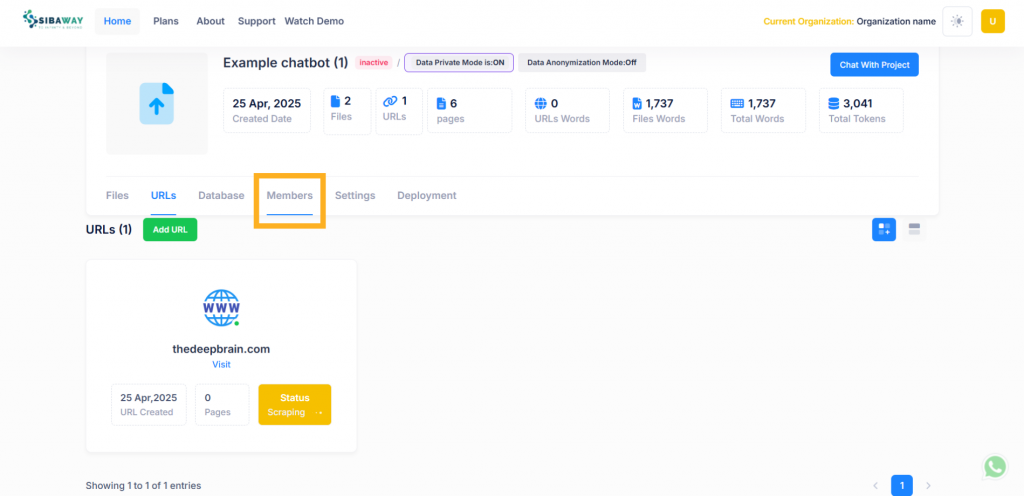
- Navigate to Members Tab: Click the Members tab to manage team access for the chatbot (highlighted in screenshot).
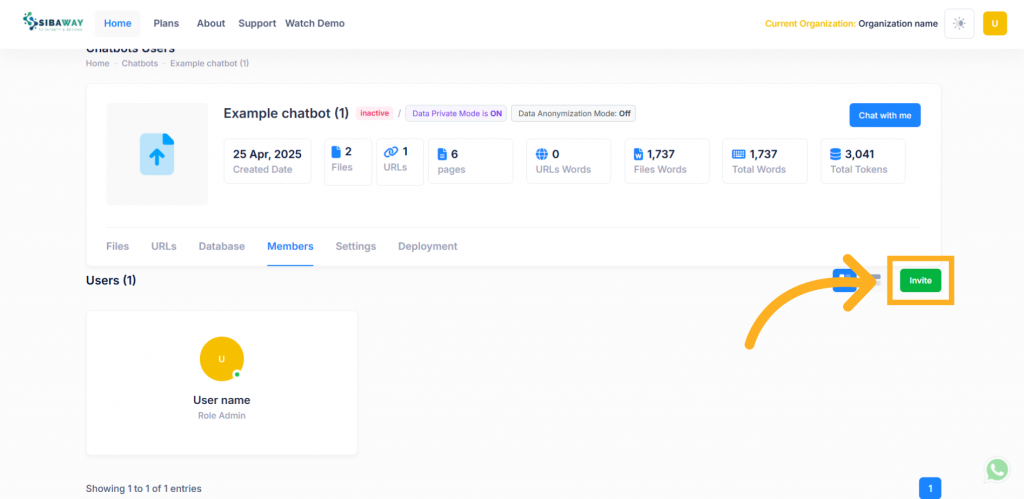
- Invite New Members: Click the green Invite button to add new users to the chatbot project (highlighted in screenshot).
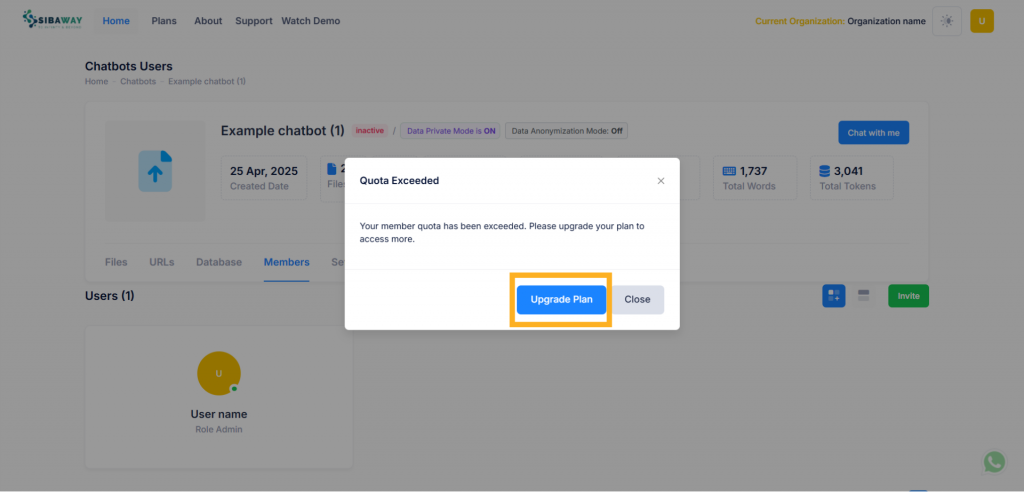
- Handle Quota Exceeded: If a “Quota Exceeded” message appears, click Upgrade Plan to increase limits, or Close to dismiss (highlighted in screenshot).
Managing subscription plans
This section guides you through reviewing your current plan, upgrading, resubscribing, or canceling your subscription based on usage quotas.
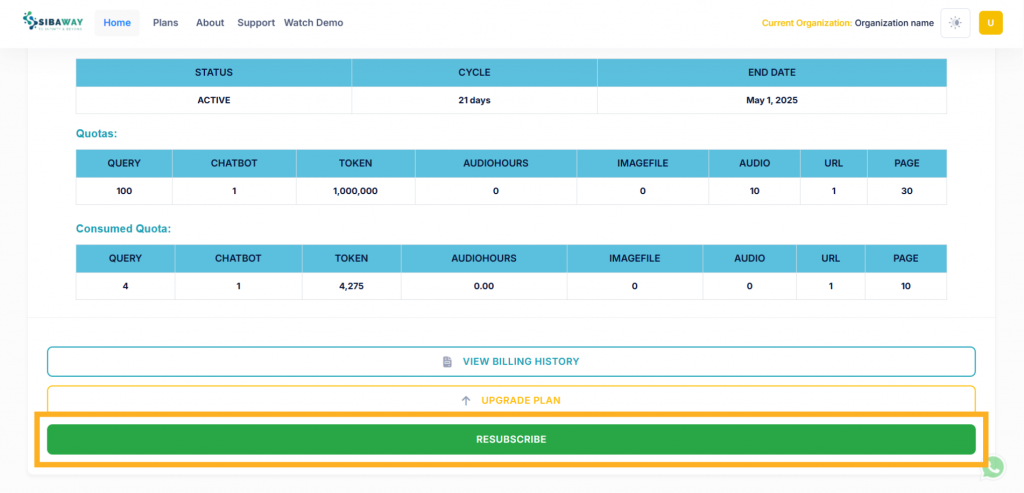
- View Profile Details: Click Profile Details to see your current plan (e.g., Premium) and quotas (highlighted in screenshot).
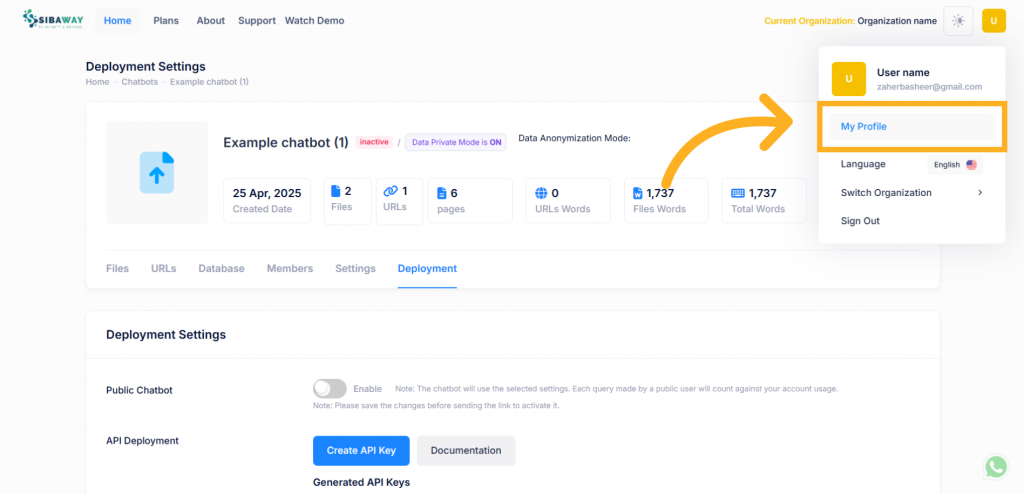
- Check Quotas: Review allocated and consumed quotas under the current plan.
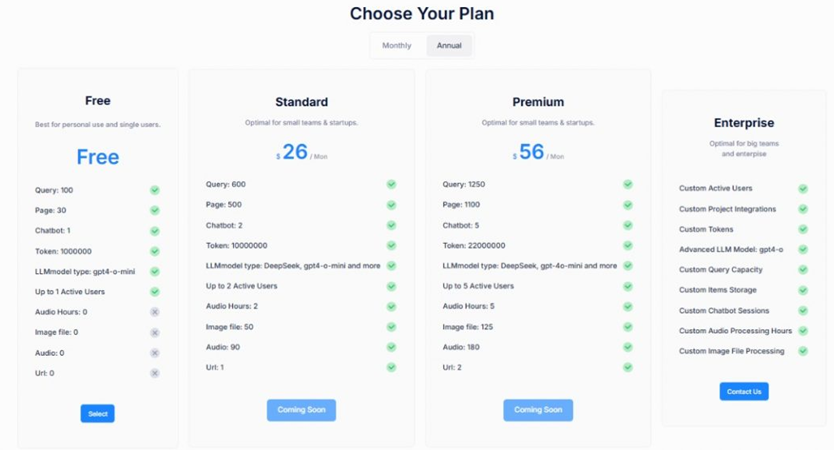
- Upgrade Plan: Click UPGRADE PLAN to switch to a higher tier (e.g., from Free to $40/Mon or $20/Mon plans) (highlighted in screenshot).

- Select Preferred Plan: Click Select on your desired plan to switch or subscribe (highlighted in screenshot).
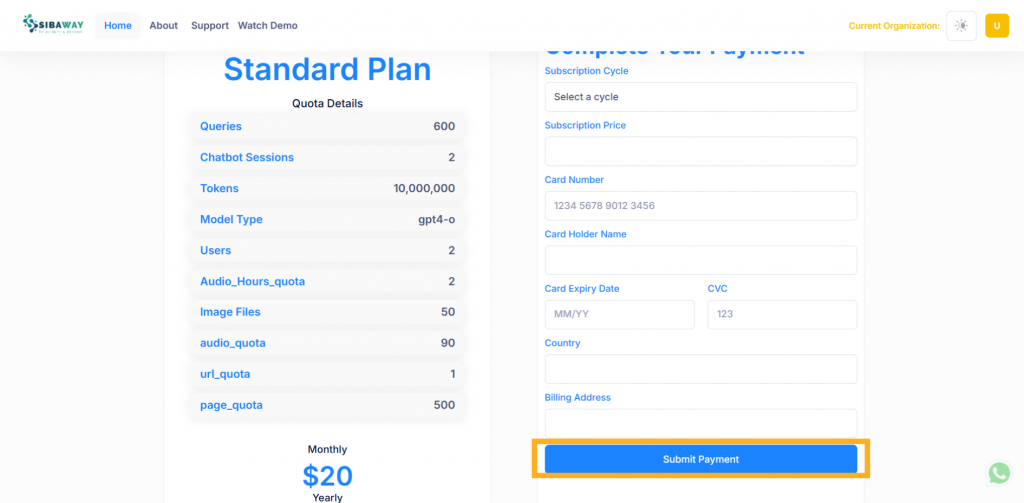
- Submit Payment Details: Enter your payment information when prompted after selecting a plan, and confirm to complete the subscription process.
- Resubscribe: Click RESUBSCRIBE to renew your plan if nearing the end date (highlighted in screenshot).
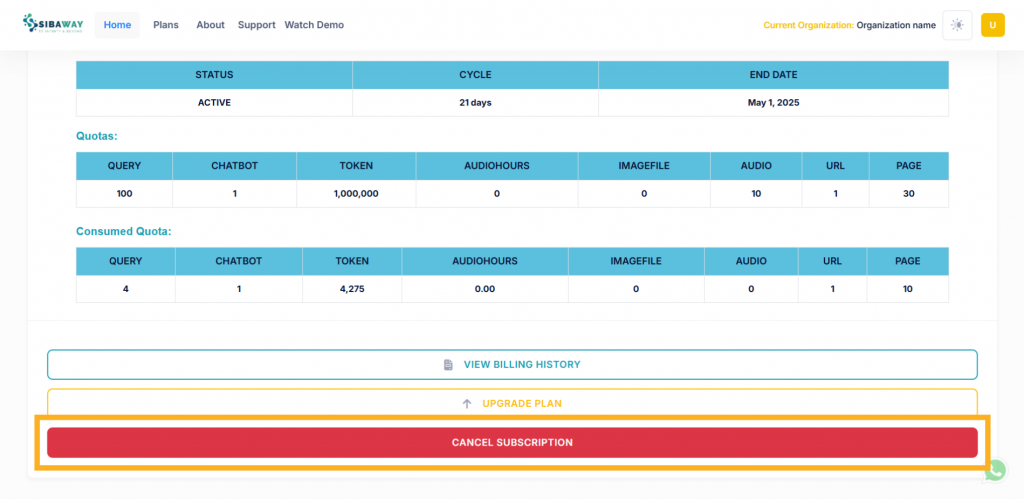
- Cancel Subscription: Click CANCEL SUBSCRIPTION to end your current plan (highlighted in screenshot), and review billing history if needed.
Updating account settings
This section outlines the steps to edit and manage your account profile, including avatar updates and saving changes.
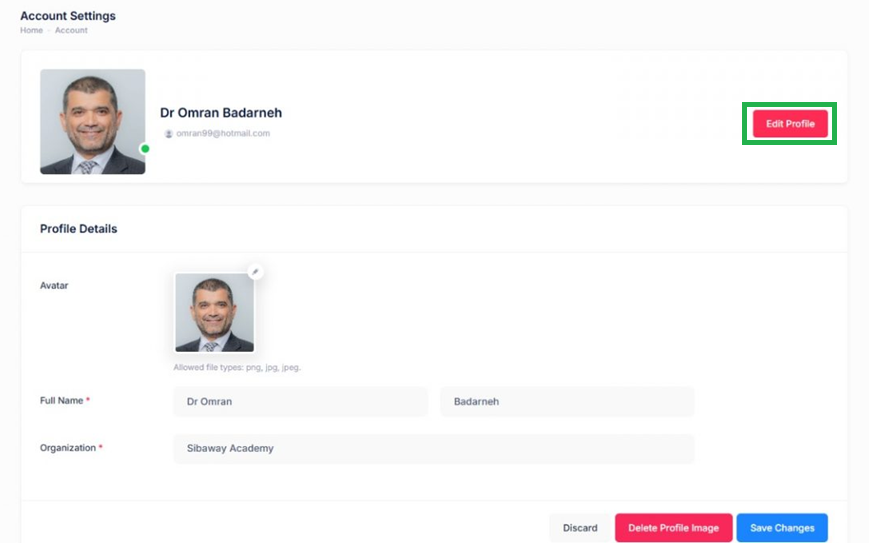
- Access Account Settings: Navigate to the Account section from the home menu.
- Edit Profile: Click the Edit Profile button to modify your details (highlighted in screenshot).
- Update Avatar: Click the avatar image to upload a new photo (e.g., png, jpg, jpeg formats are allowed) (highlighted in screenshot).
- Enter Full Name and Organization: Fill in or update the Full Name and Organization fields (highlighted in screenshot).
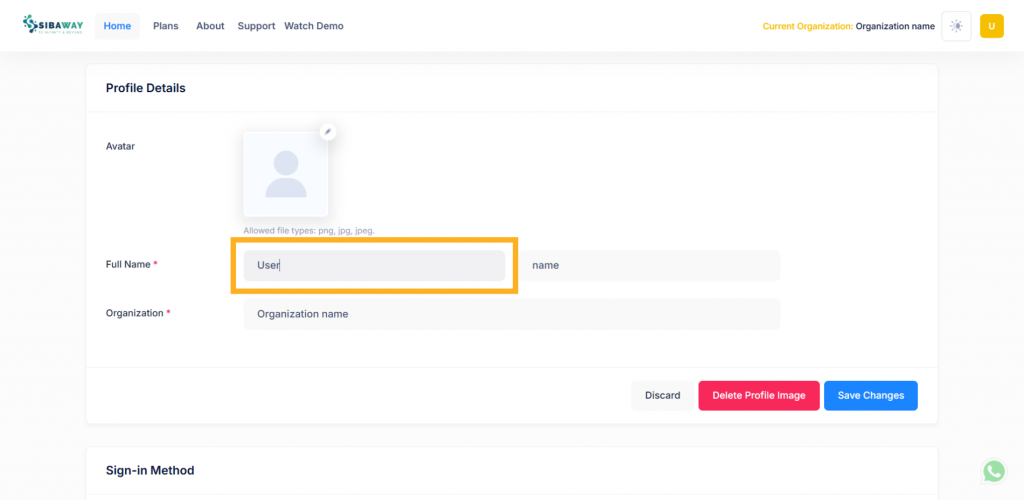
- Save Changes: Click Save Changes to apply your updates (highlighted in screenshot), or use Discard to cancel.
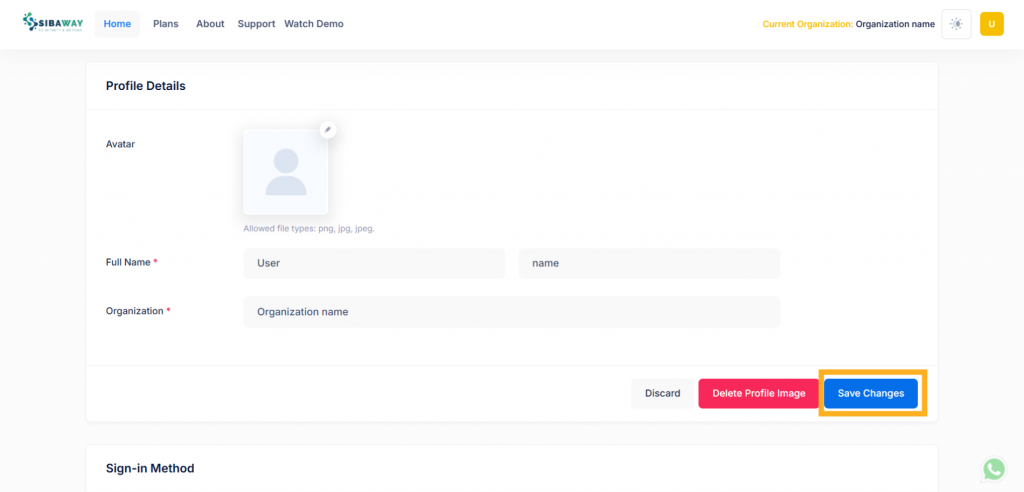
- Your profile name will be updated.
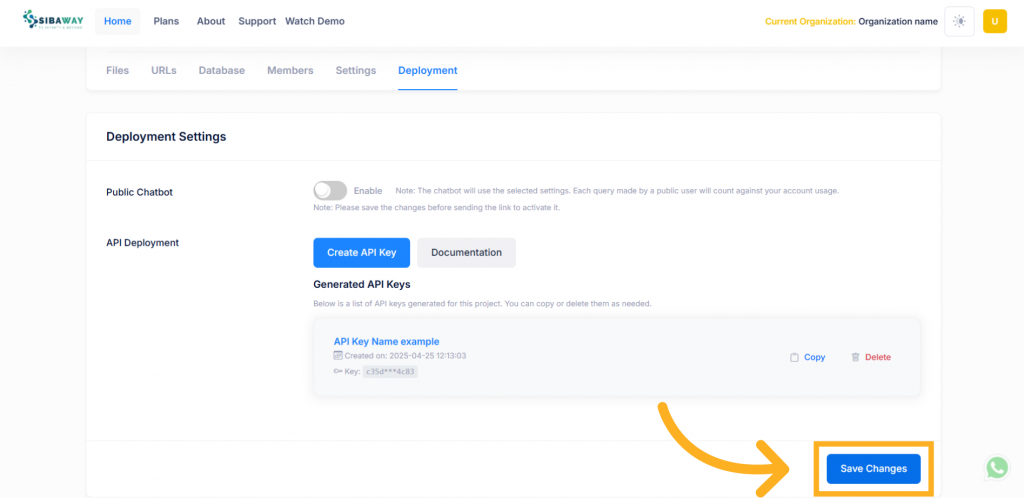
Configuring deployment settings
This section explains how to configure and deploy your chatbot, including enabling public access, setting up API keys, and customizing the bubble window.
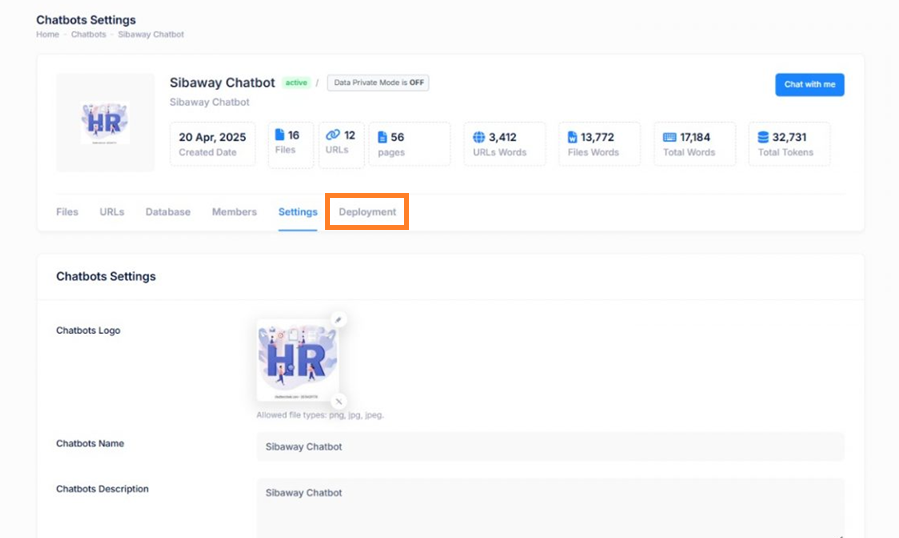
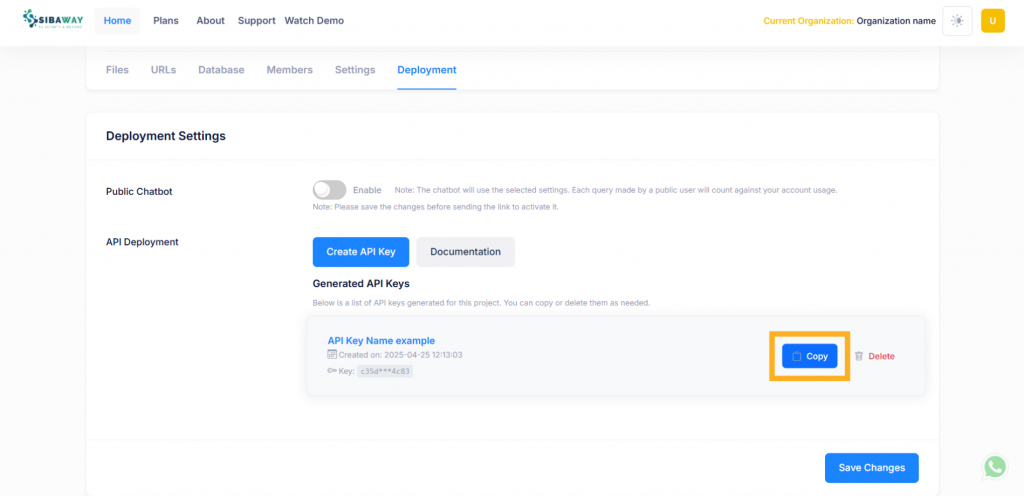
- Access Deployment Tab: Navigate to the Deployment tab under chatbot settings (highlighted in screenshot).
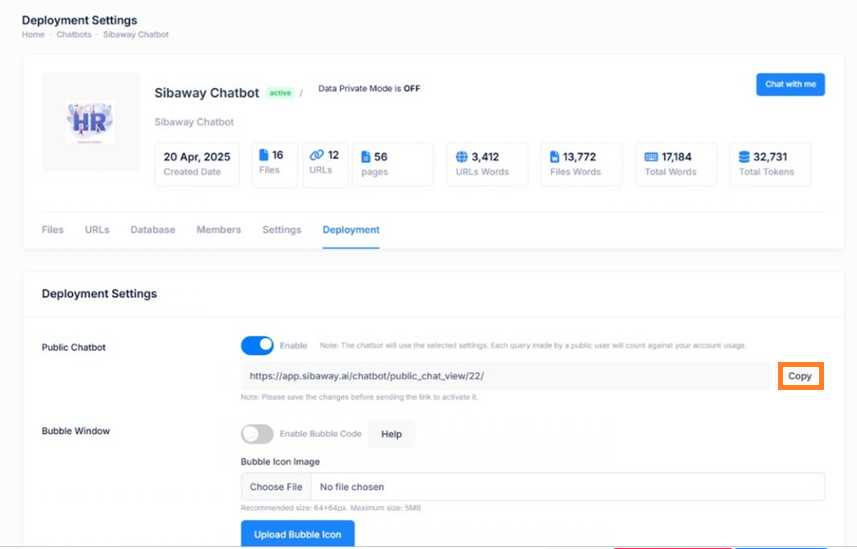
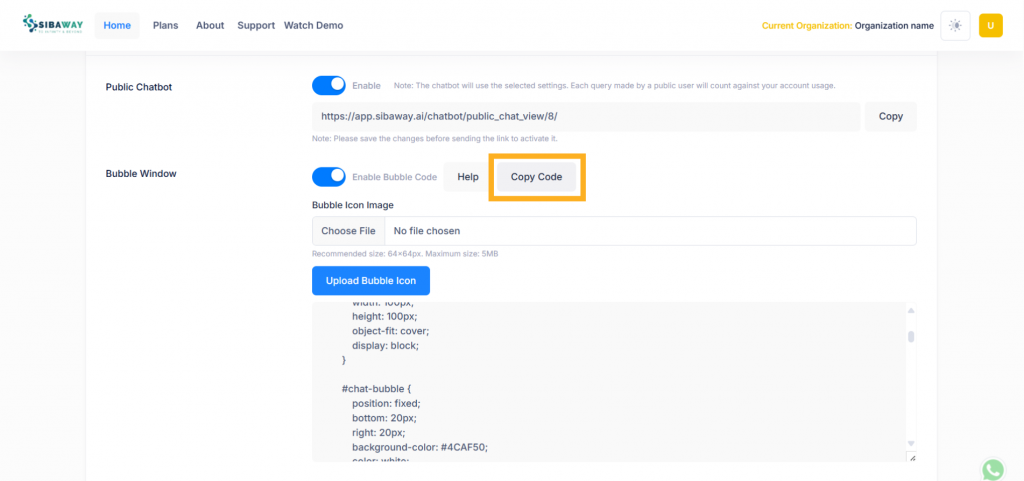
- Enable Public Chatbot: Toggle the Enable switch under “Public Chatbot” to activate public access, then click Copy to share the link (highlighted in screenshot).

- Enable Bubble Window: Toggle the Enable Bubble Code switch to activate the bubble window feature (highlighted in screenshot).
- Upload Bubble Icon: Click Upload Bubble Icon to add a custom icon (recommended size: 64x64px, max 5MB) (highlighted in screenshot).
- Copy Bubble Code: Click Copy Code to copy the bubble window code for integration (highlighted in screenshot).

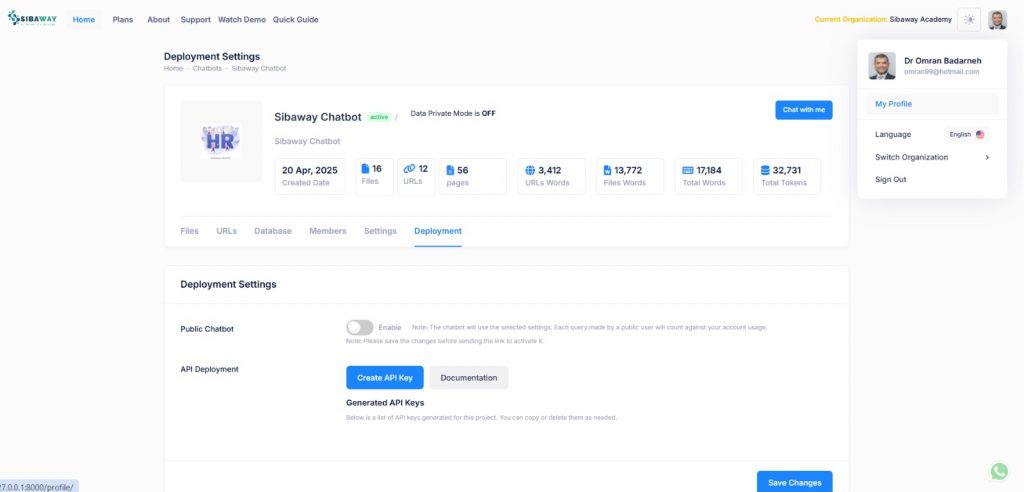
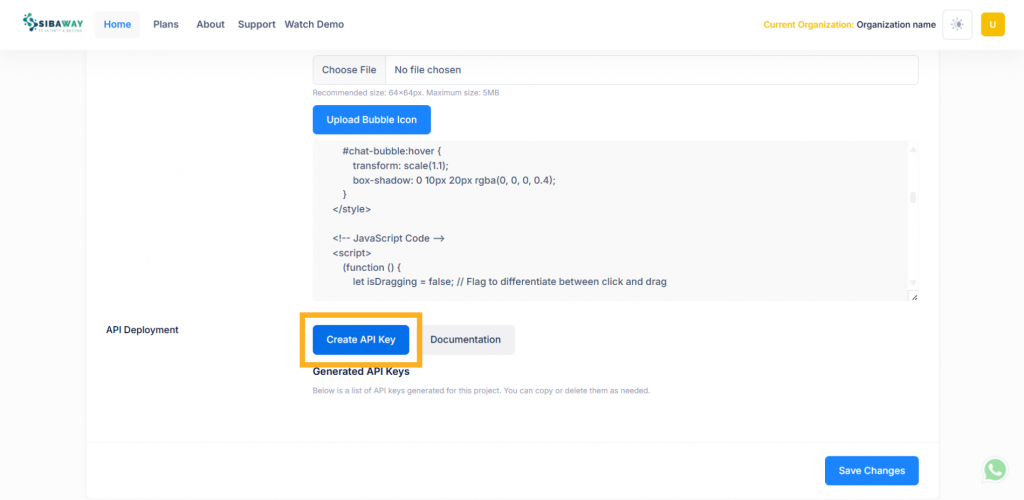
- Create API Key: Click Create API Key, enter a name in the pop-up, and click Generate API Key to create a new key (highlighted in screenshot).

- Manage API Keys: In the “Generated API Keys” section, click Copy to copy an existing key or Delete to remove it (highlighted in screenshot).
- Save Changes: Click Save Changes to apply all deployment settings (highlighted in screenshot).