This concise guide walks you through signing up for Sibaway, creating and managing a chatbot, uploading files and URLs, chatting with content, and adjusting settings for optimal use.
Sign-up process
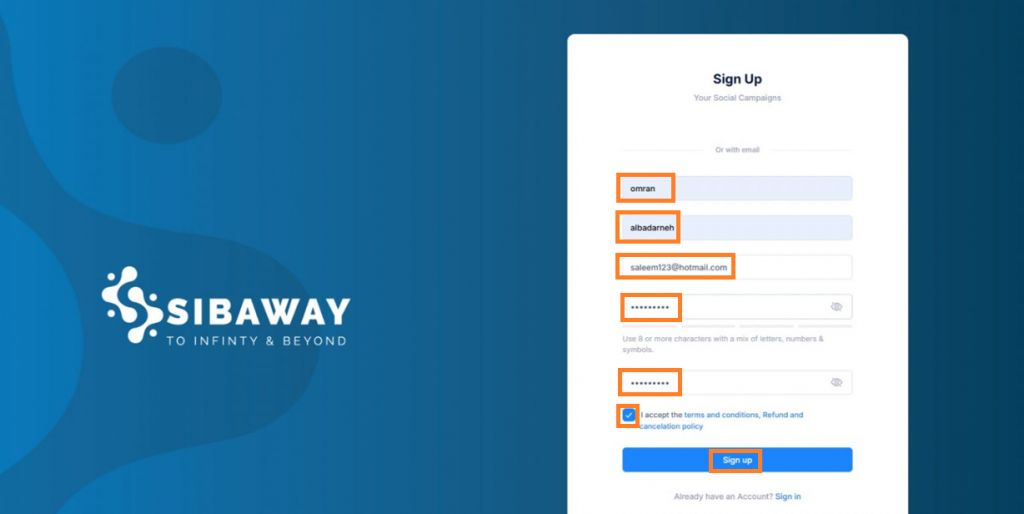
To sign up for a new Sibaway account, follow these steps:
- Open “app.sibaway.ai” and locate the sign-up page.
- Enter the first and second names. It will be the Organization’s name.
- Enter email (e.g., [email protected]).
- Set password (8+ characters, mix of letters, numbers, symbols).
- Accept terms by checking the box.
- Click Sign Up (highlighted in screenshot).
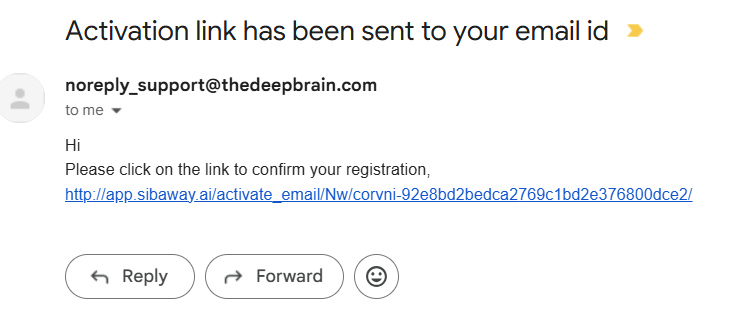
- An activation link will be sent to your email to confirm your registration. Open it and click the link.
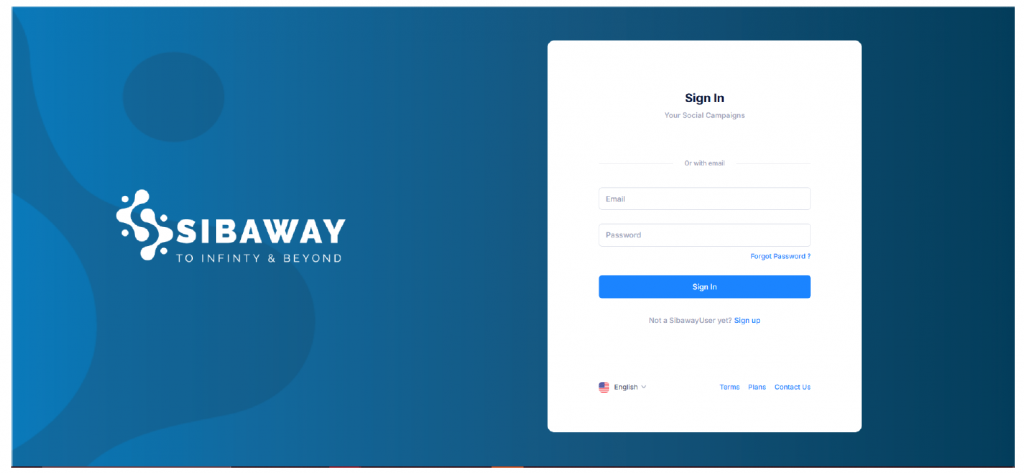
- Enter your email and password and click Sign In.
Main dashboard overview
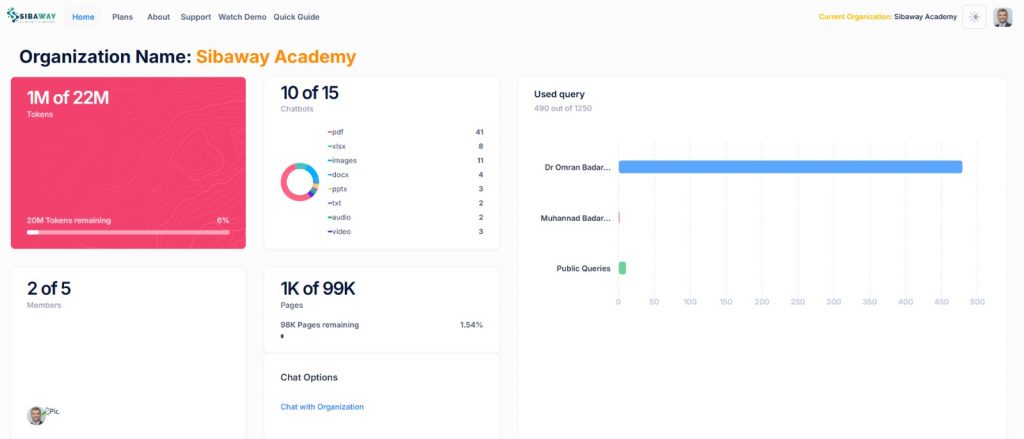
The main dashboard provides a quick overview with navigation links.
Key details include:
- Organization: Name at top right.
- Tokens: 1M of 22M tokens use.
- Chatbots: 10 of 15.
- Members: 2 of 5.
- Pages: 1K of 99K.
- Chat Options: “Chat with Organization” is available here.
- Stats: Used Query.
Creating new chatbot
From setting new chatbot status to uploading files and customizing questions, follow the precise steps to enhance employee training efficiently.
- Start Creation: Click Create Chatbot (highlighted in screenshot).
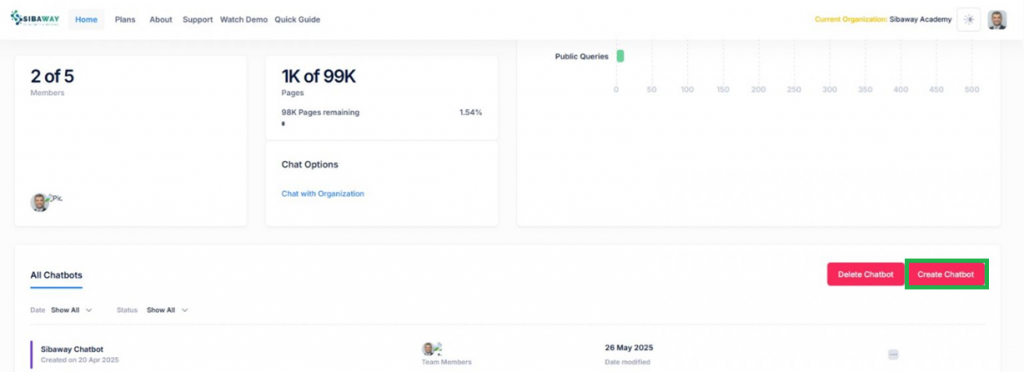
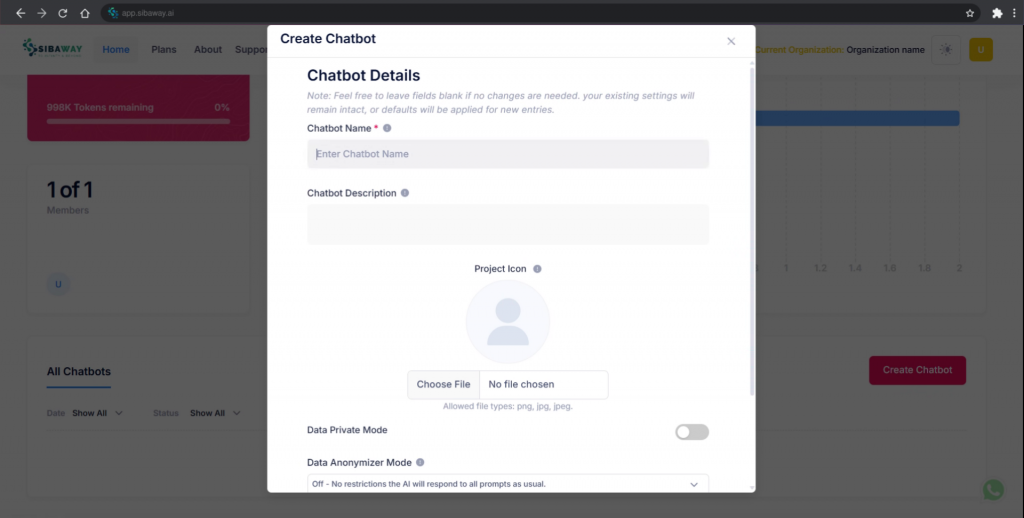
- The “Create Chatbot” pop-up appears.
- Fill the Form:
- Chatbot Name: Enter name (required).
- Description: Optional.
- Project Icon: Optional upload (PNG, JPG, JPEG).
- Data Private Mode: Keep default (recommended).
- Data Anonymizer Mode: Keep default (recommended).
- Internal Shareability: Keep default (recommended).
- Save: Click blue Create Chatbot (highlighted in screenshot).
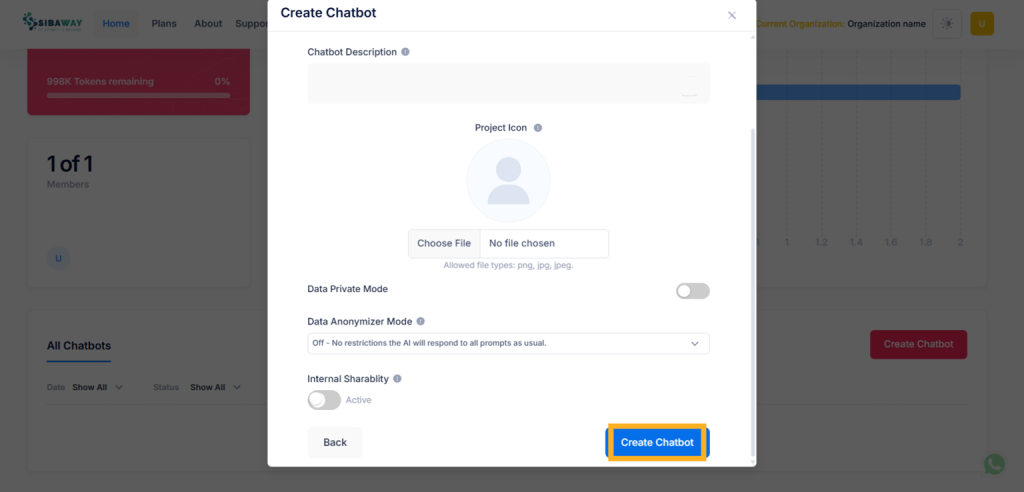
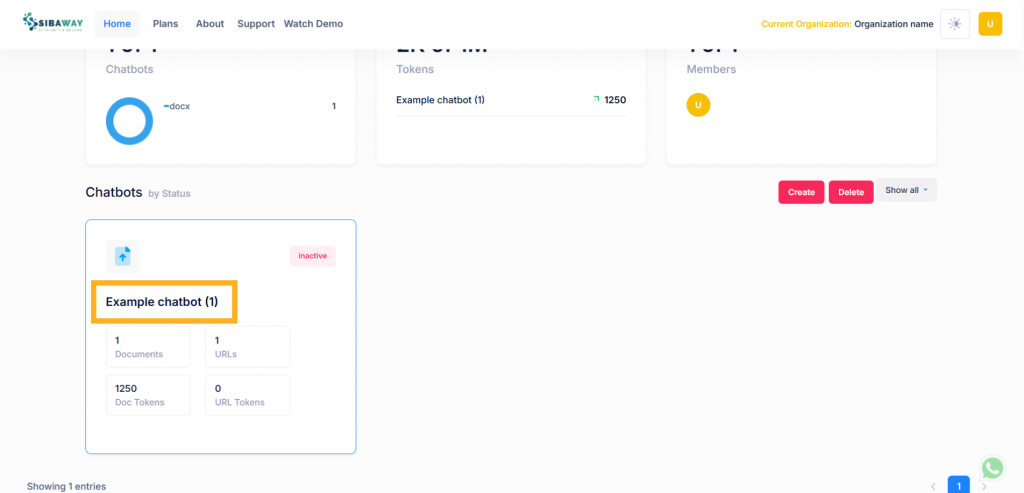
- The new chatbot dashboard will open.
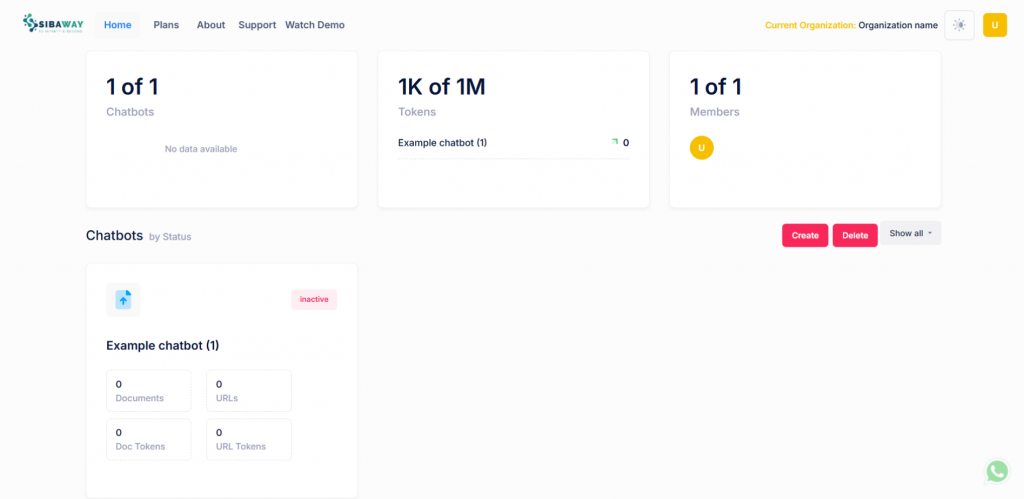
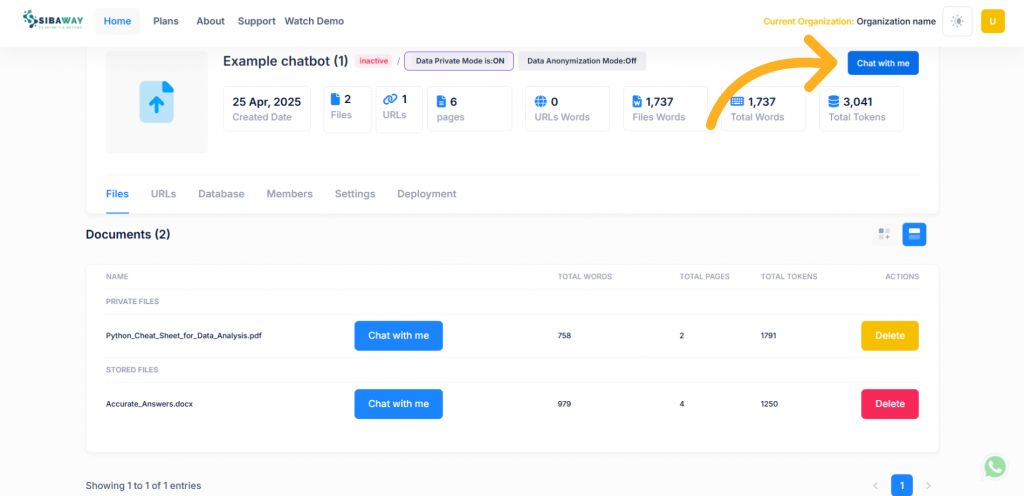
- From the chatbot dashboard, click the chatbot name (e.g., “Example chatbot”).
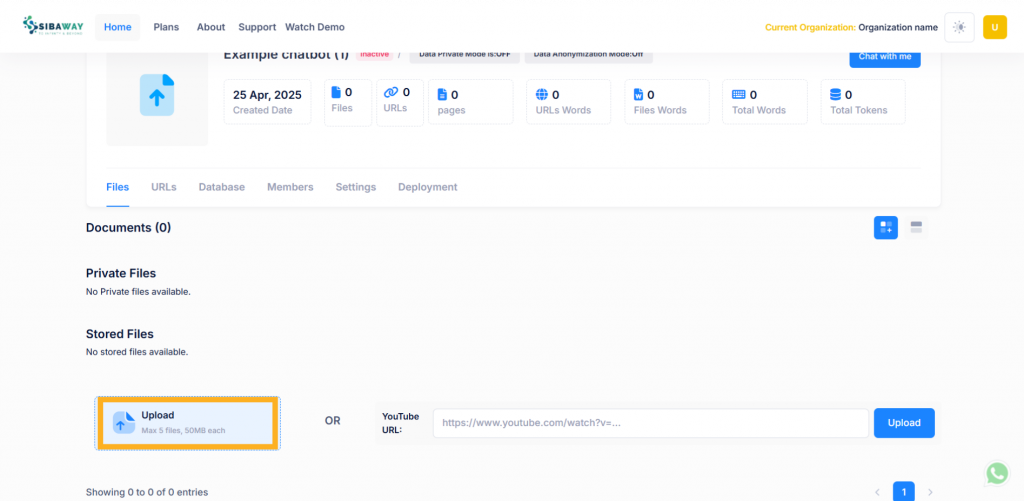
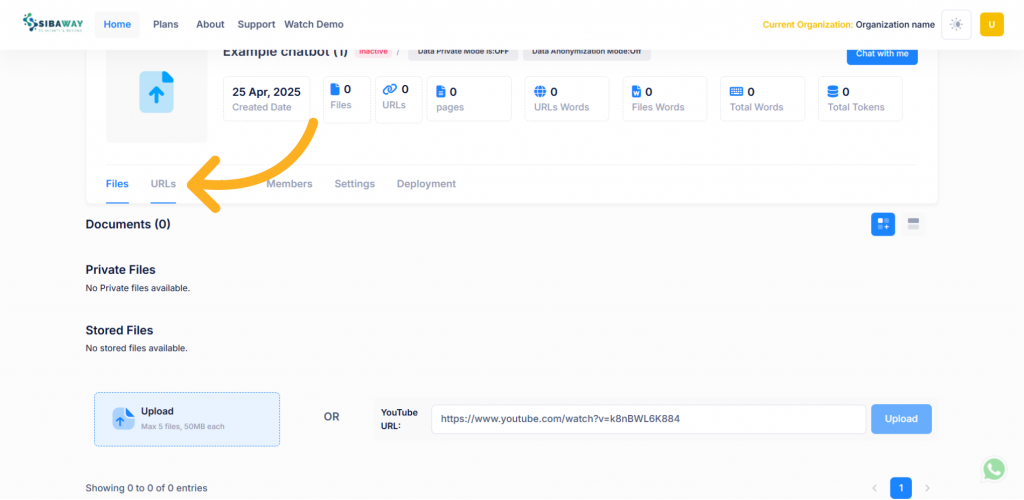
- Navigate to the “Files” tab (default view).
- Click Upload (highlighted in screenshot; max 5 files, 50MB each).
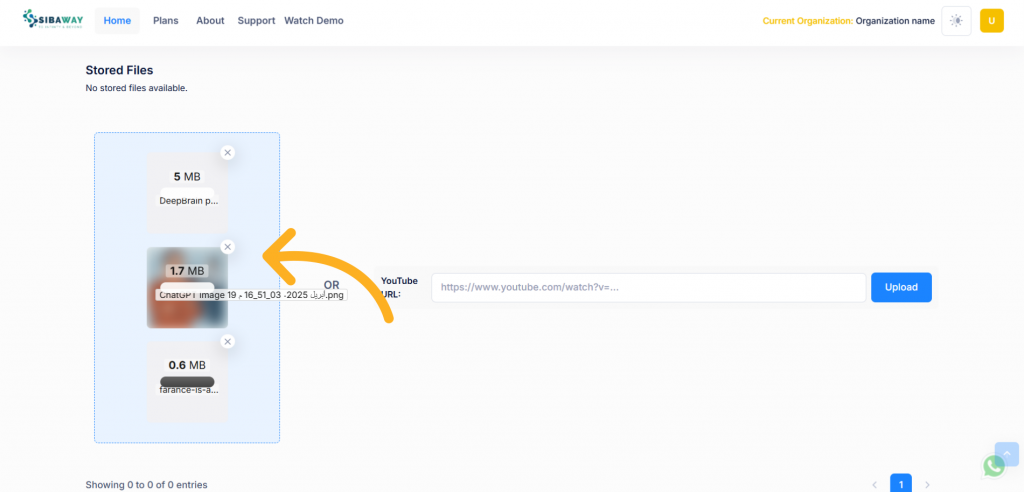
- Alternatively, enter a YouTube URL and click Upload.
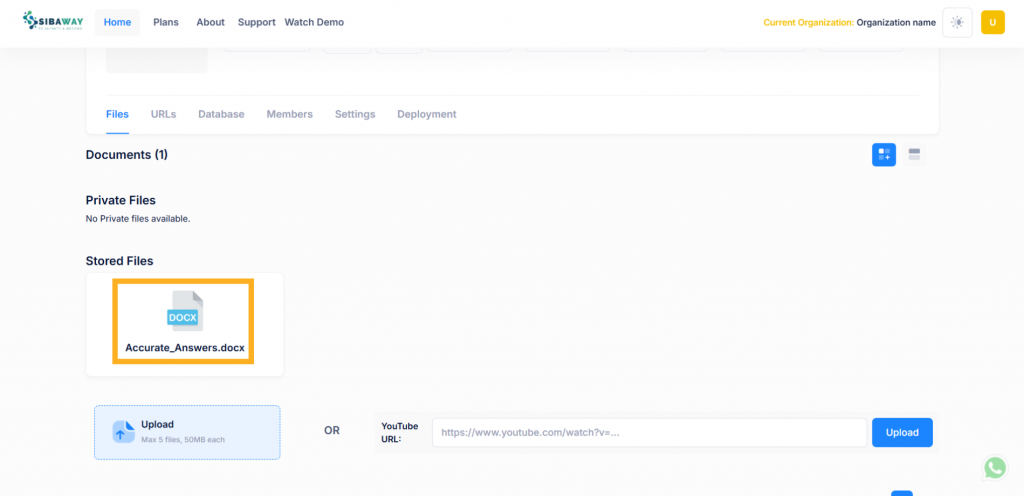
- Uploaded files appear under “Stored Files” with details.
Chatting with your files
To chat with your files, follow these steps:
- From the chatbot dashboard, under the “Files” tab, locate the “Stored Files” section. Click on the file you want to chat with.
- To chat with all files or the whole chatbot, click “Chat with me”.
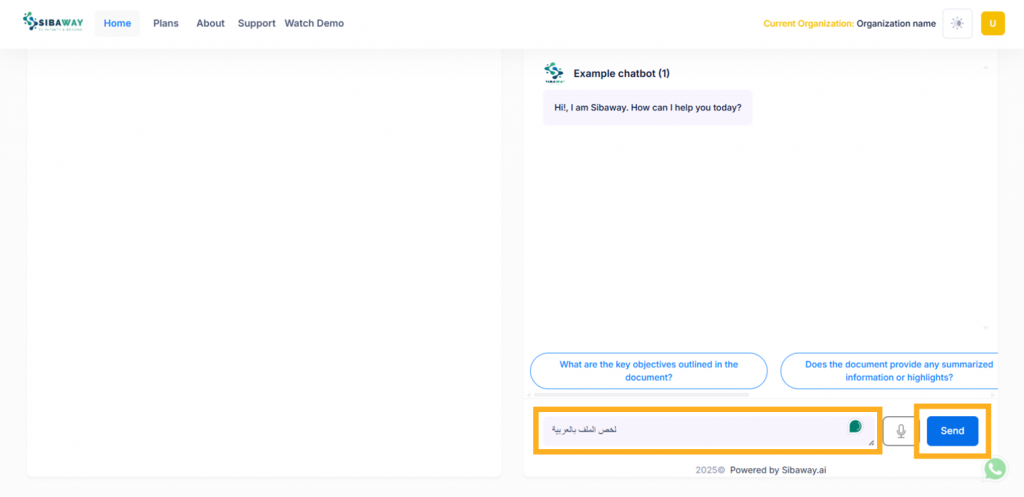
- The chat interface opens with a greeting: “Hi, I am Sibaway. How can I help you today?”
- Type your query in the text box (e.g., “لخص الملف بالعربية” as shown).
- Click the blue Send button (highlighted in screenshot) or use the voice input (microphone icon). The chatbot responds with key points.
- Use options like Read Text or Stop Reading (highlighted in screenshot) to control audio playback.
- If needed, copy the response with copying icon in the left.

- Use suggested prompts (highlighted in screenshot) or type a new query.

- You can also send voice questions or messages, click the mic icon (highlighted in screenshot).

Adding and chatting with URLs
- From the chatbot dashboard (e.g., “Example chatbot”), click the URLs tab (highlighted in screenshot).
- Click the green Add URL button (visible in the URLs tab).
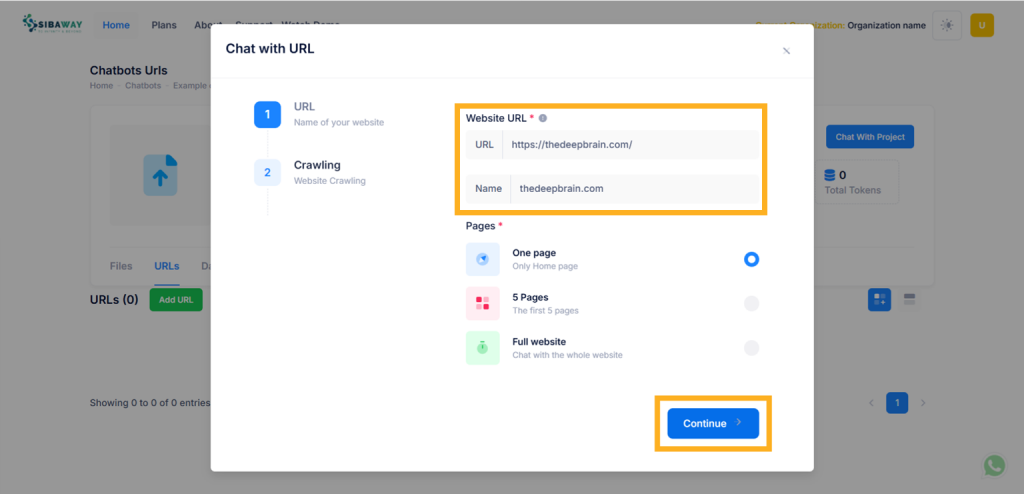
- A “Chat with URL” pop-up appears. Enter the website URL and name in the fields (highlighted in screenshot).
- Select the crawling option (e.g., “One page”). Click the blue Continue button (highlighted in screenshot).
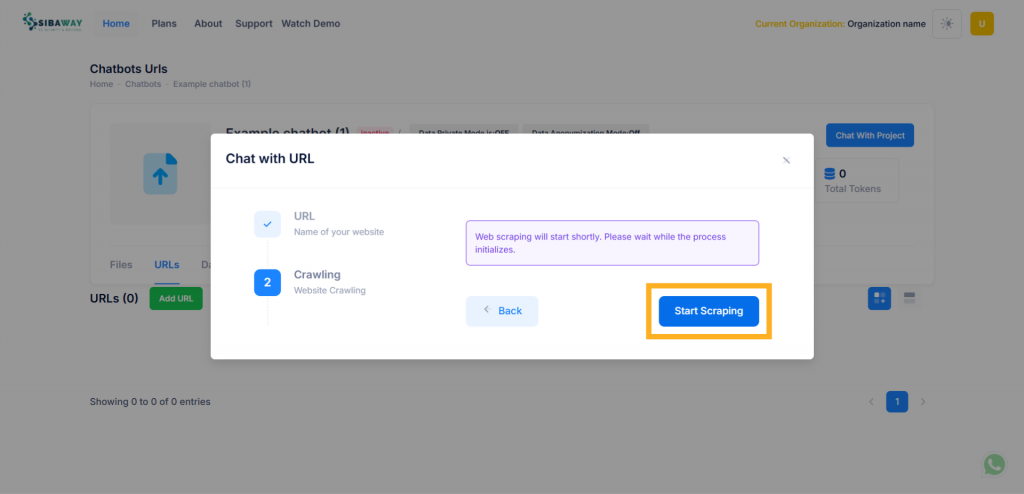
- A confirmation message appears: “Web scraping will start shortly. Please wait while the process initializes.” Click the blue Start Scraping button (highlighted in screenshot) to begin.
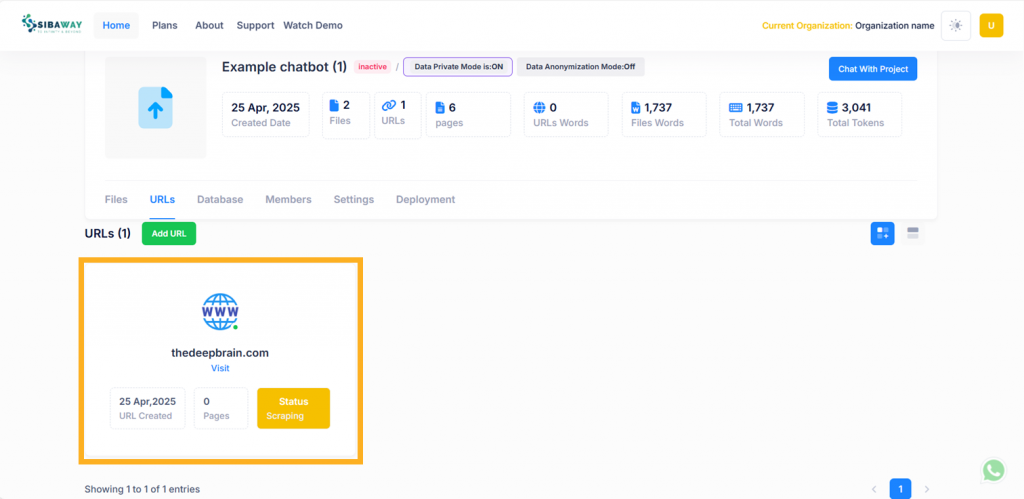
- The URL will appear under the “URLs” section (e.g., “thedeepbrain.com” with 6 pages scraped, “Status: Scraping” indicated in yellow).
Chatbot settings
To review your chatbot stats and adjusting settings:
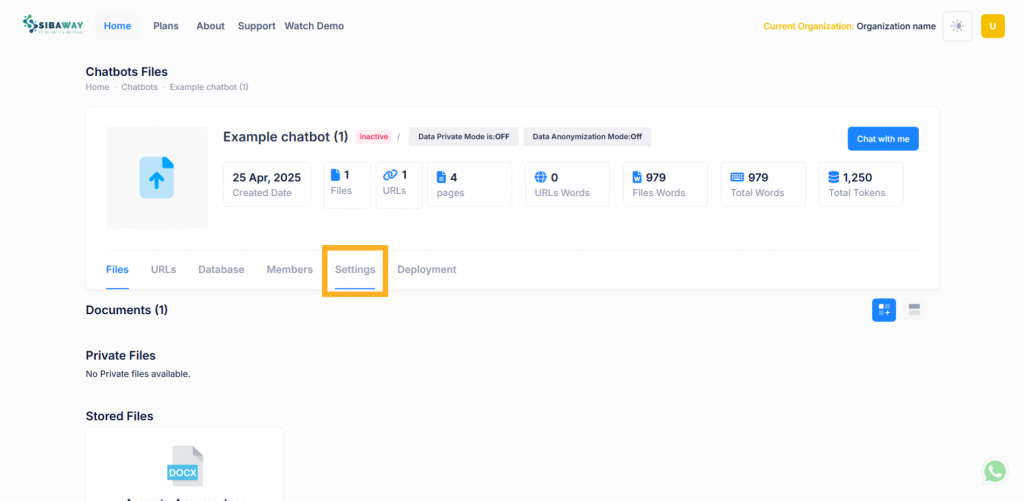
- Access Settings: Click the Settings tab in the chatbot dashboard to view and edit configurations (highlighted in screenshot).
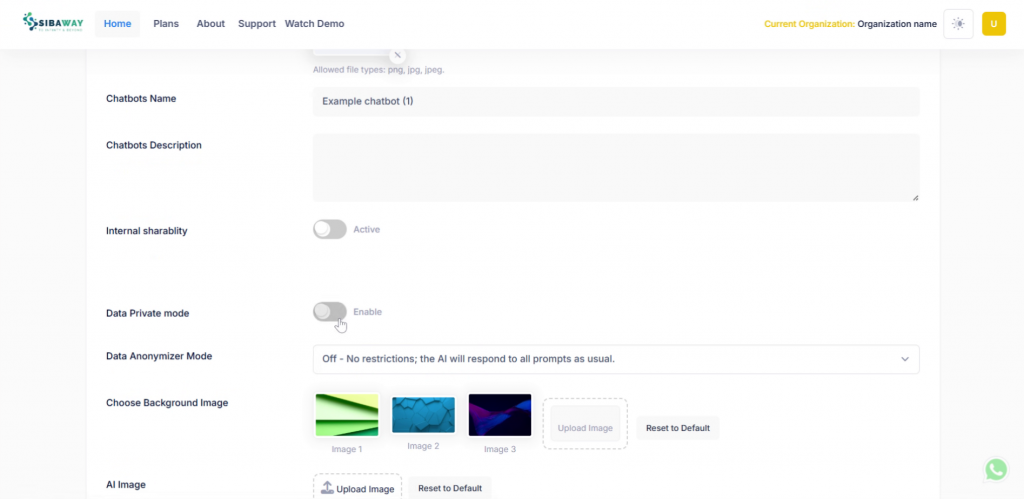
- Edit Chatbot Name and Description: Modify the “Chatbots Name” (e.g., “Example chatbot”) and add a description in the provided fields.
- Toggle Internal Shareability: Enable or disable “Internal shareability” to control access within the organization (default: active).
- Enable Data Private Mode: Turn on “Data Private mode” to hide the file uploaded in the chatting screen (default: off, as shown). (Applied only for files uploaded after enabling).
- Enable Data Anonymizer Mode: Activate “Data Anonymizer Mode” to anonymize data in responses (default: off, as shown).
- Choose Background Image: Select a background image (Image 1, Image 2, Image 3) or upload a custom one (PNG, JPG, JPEG) for the chat interface, with an option to reset to default.
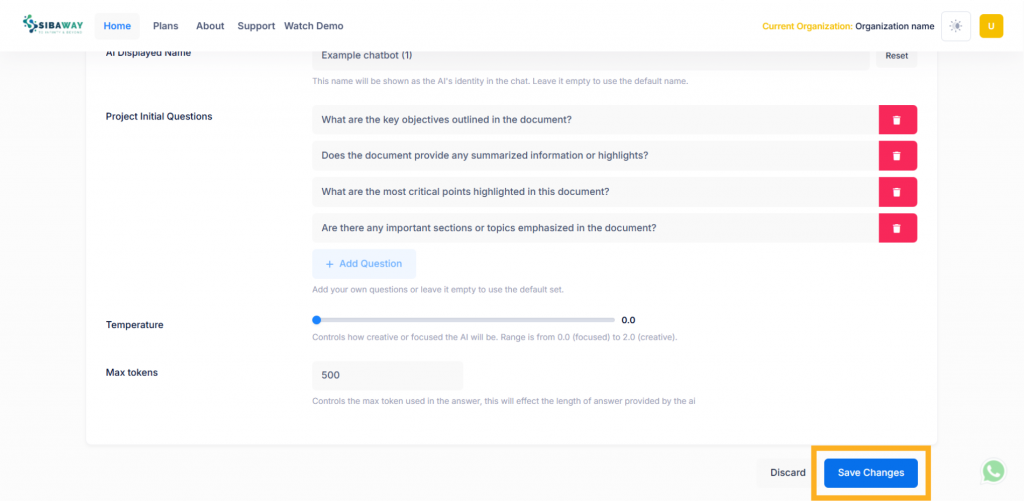
- Set AI Display Name: Enter a custom AI display name or leave empty for the default in the “AI DISPLAY NAME” section.
- Add Project Initial Questions: Add up to four initial questions (e.g., “What are the key objectives outlined in the document?”) to guide users, or leave empty for defaults.
- Adjust Temperature: Set the “Temperature” slider (0.0 to 2.0) to control AI creativity (default: 0.0, focused, as shown).
- Set Max Tokens: Define “Max tokens” (e.g., 500) to control response length (default: 500, as shown).
- Save Changes: Click Save Changes (highlighted in screenshot) to apply all settings, or Discard to cancel.
For more information, see also: How to use Sibaway AI chatbot: an advanced guide.